Best Raspberry Pi 5 Homelab Projects 2026 (Beginner to Advanced)
The best Raspberry Pi 5 homelab projects 2026 has to offer are more capable than ever — and the board itself finally deserves them. For years the Pi 4 was the default “good enough” choice for Pi-hole or Home Assistant, but it buckled under heavier workloads. It runs circles around the Pi 4 in every benchmark that matters for homelab use.
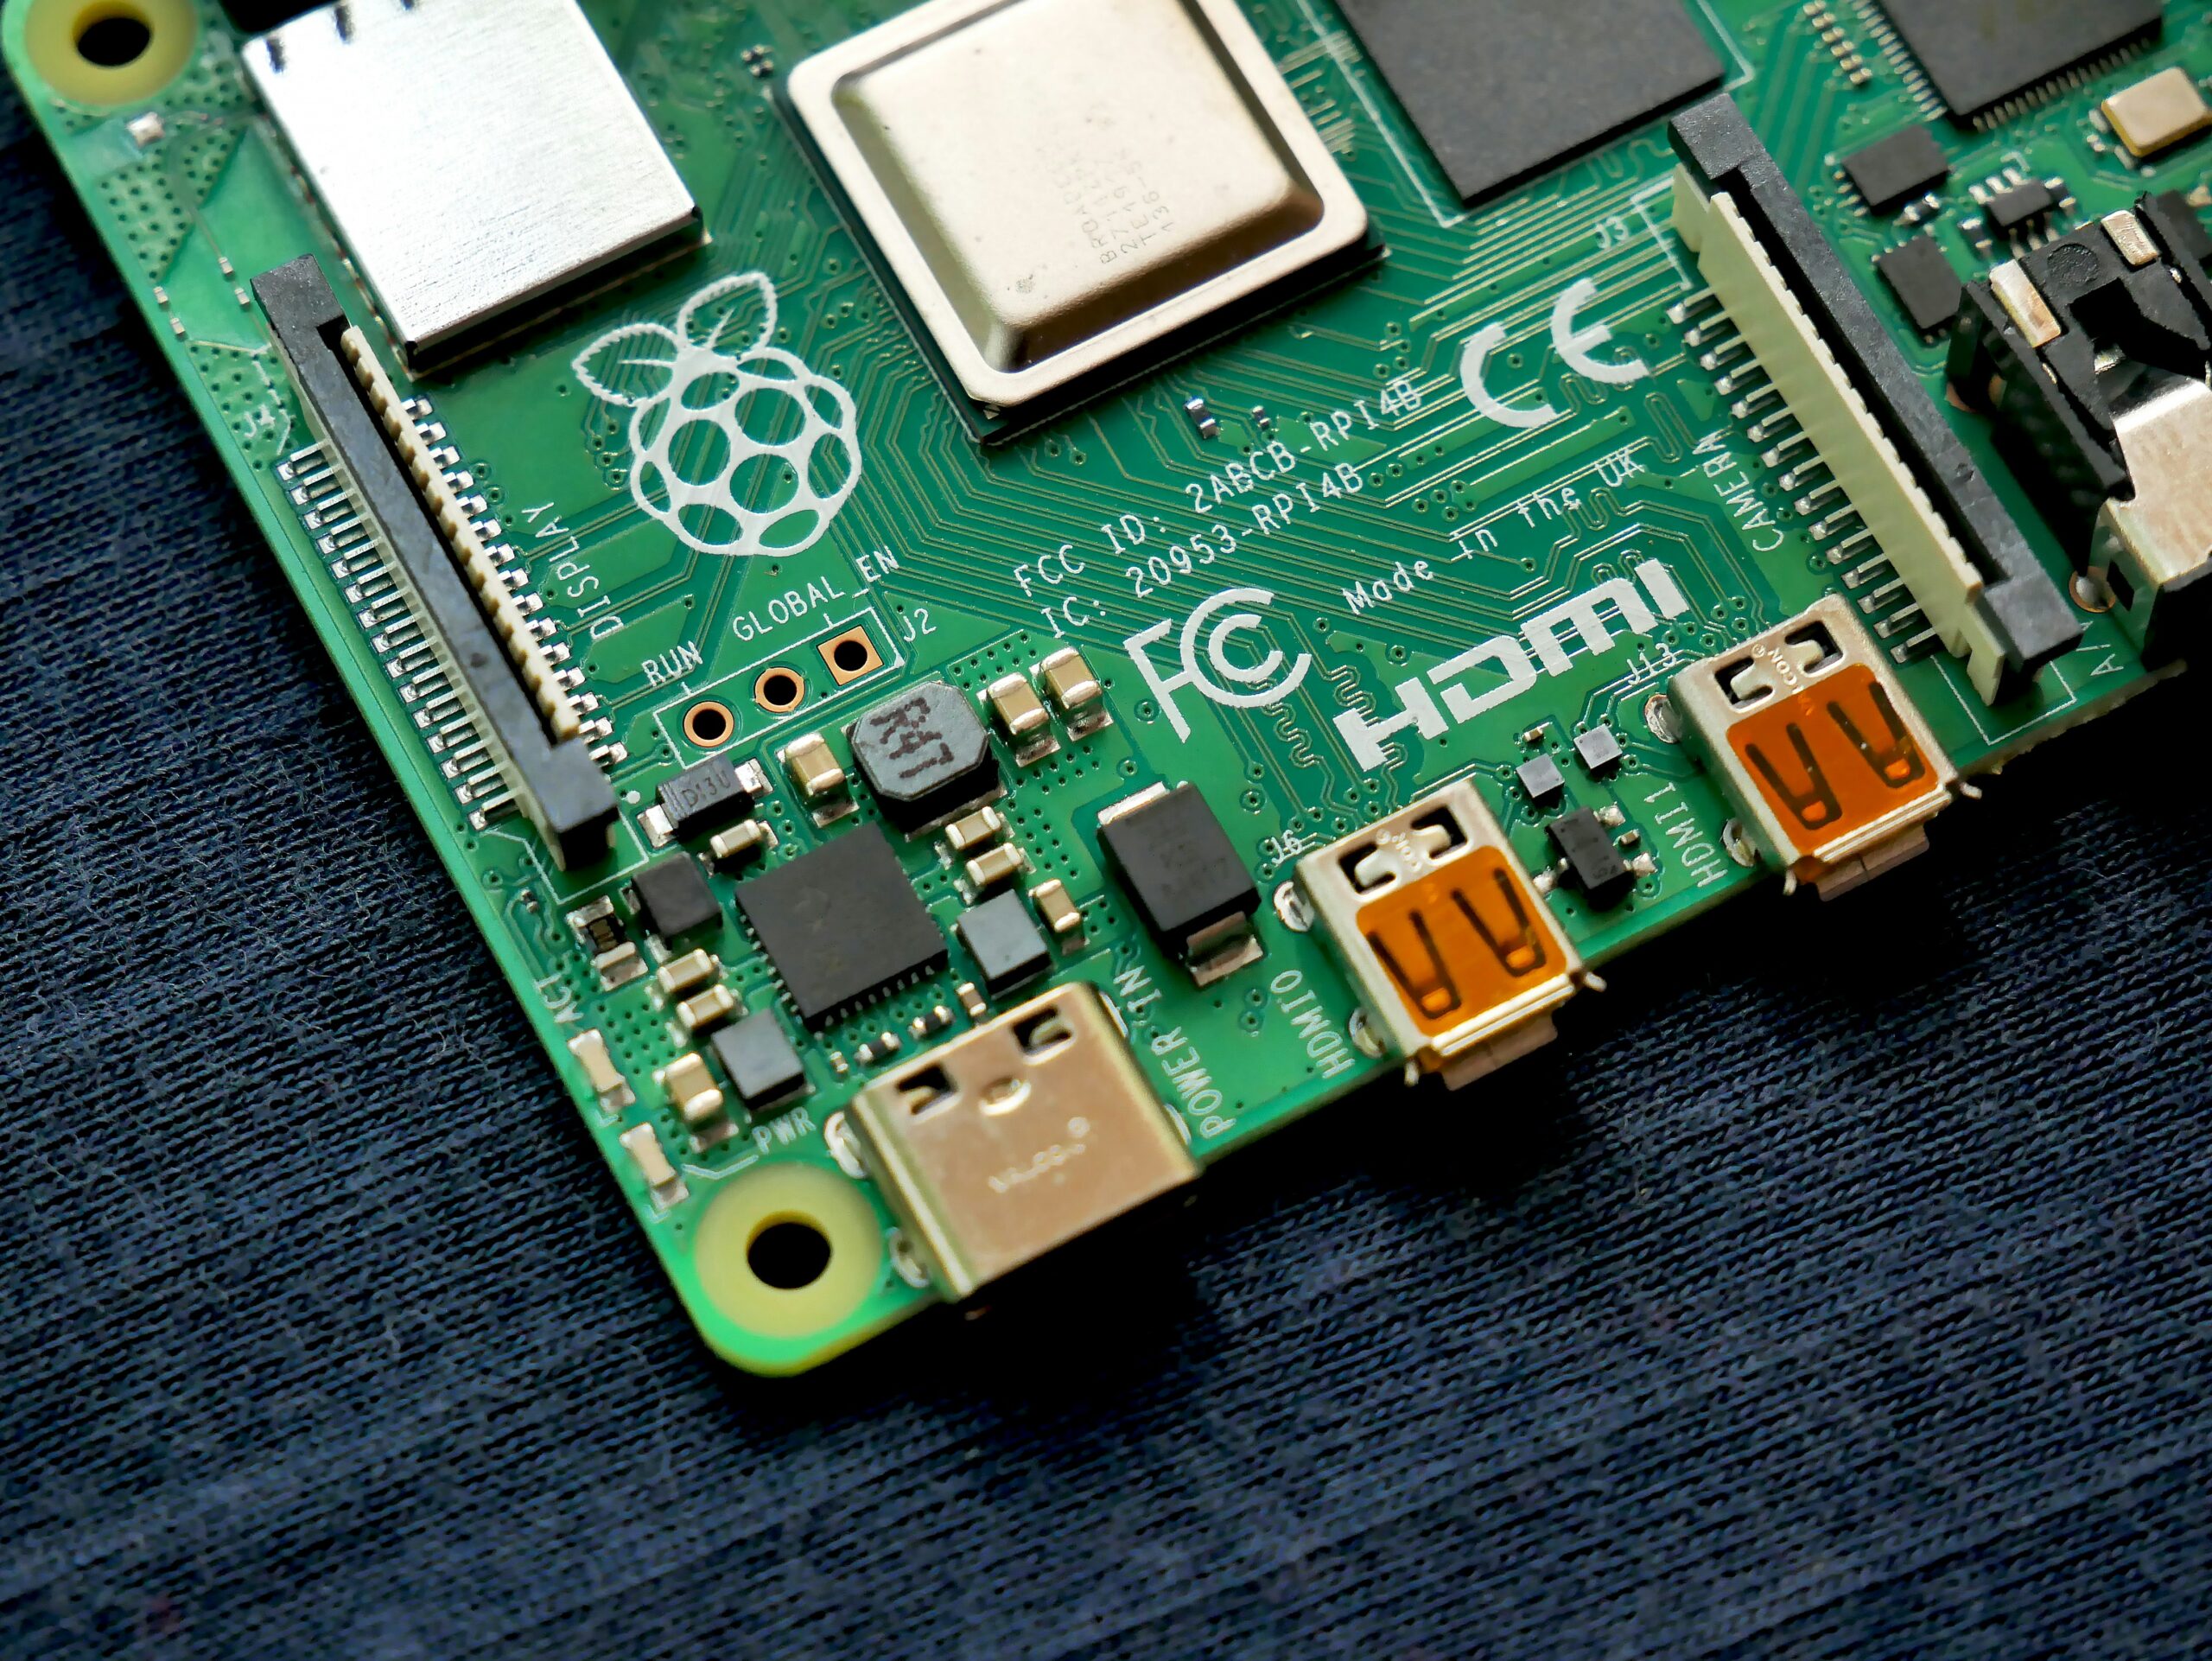
The Pi 5 is a different machine entirely: a quad-core Arm Cortex-A76 at 2.4 GHz, up to 16 GB of LPDDR4X RAM, native PCIe 2.0 for NVMe storage, and hardware H.265 video decode.
In early 2026 the Pi 5 ecosystem is also finally mature. The PCIe software stack that was rough at launch is stable, NVMe HATs are widely available and affordable, and the community has worked out most of the rough edges around Docker, Home Assistant OS, and Ollama. This is the best time to start a Pi 5 homelab project.
Below you’ll find seven projects organized into three difficulty tiers. Each one has been built and tested — not just theorized. Where there are real limitations (4K transcoding on Jellyfin, the single-drive PCIe constraint for NAS), they’re called out plainly so you know what you’re getting into before you buy hardware.
Amazon Big Spring Sale ends March 31 — several of the hardware picks below are on sale right now. Prices noted reflect current sale pricing where applicable.
Raspberry Pi 5 Homelab Projects 2026: Why This Board Wins
Before getting into projects, it’s worth understanding why the Pi 5 specifically — and why now, as opposed to a budget mini PC or an older Pi board.
Pi 5 vs Pi 4: Not a Marginal Upgrade
The Pi 5 delivers roughly 2–3x CPU performance over the Pi 4 in real workloads. For Pi-hole that’s irrelevant — Pi-hole barely uses any CPU. But for Home Assistant with 40+ integrations, for Jellyfin transcoding 1080p streams simultaneously, or for running a 3B parameter LLM locally, that headroom matters enormously. The Pi 4 stumbles under those loads; the Pi 5 handles them with CPU to spare.
The storage story is even more dramatic. The Pi 4’s USB 3.0 bus shared bandwidth across all ports. The Pi 5 has a dedicated PCIe 2.0 lane to the M.2 connector — that’s 400–500 MB/s sequential read versus 90 MB/s on a microSD card. For any homelab workload that’s I/O-bound (NAS, database-backed apps, Home Assistant’s SQLite recorder), an NVMe-booted Pi 5 feels like a completely different machine.
Pi 5 vs Budget Mini PC (Beelink EQ14, GMKtec N150)
This comparison is trending on r/homelab and it’s a legitimate question. The Beelink EQ14 and GMKtec N150 both run Intel N150 (Alder Lake-N), have 16 GB of soldered RAM, 512 GB SSDs, and cost $150–$180. On raw compute, they beat the Pi 5 — the N150 is an x86 chip with a wider execution pipeline and better single-threaded performance.
So why pick the Pi 5 at all? A few reasons:
- Power draw. The Pi 5 idles at 3–5W under light load. The N150 mini PCs idle at 6–10W and spike to 15–20W under load. Over a year of 24/7 operation, that difference in electricity cost is real.
- Community and documentation. The Pi ecosystem has years of project-specific guides, Ansible playbooks, and Docker Compose templates written specifically for it. The mini PC homelab community is smaller and less organized.
- Learning hardware. GPIO pins, HATs, PoE, physical tinkering — the Pi 5 is a hardware platform, not just a cheap PC. For the k3s cluster project, you simply cannot replicate the multi-node physical experience with a single mini PC.
- Price floor. The Pi 5 8GB bare board is $80. No mini PC comes close to that entry point.
Honest verdict: If you want maximum performance per dollar for a single-node home server and don’t care about hardware tinkering, the GMKtec N150 or Beelink EQ14 is actually the pragmatic pick. If you want to learn, experiment, run multiple physical nodes, or keep power consumption minimal, the Pi 5 wins. Many homelab builders end up owning both — a mini PC as the main server, Pi 5 boards as dedicated appliances.
Quick Hardware Guide: What You Need Before Starting
Every Raspberry Pi 5 homelab projects 2026 build in this guide shares a common hardware foundation. Here’s what to have in hand before you start any of them.
The Board
For most projects, the Pi 5 8GB is sufficient. Pi-hole, Home Assistant, Jellyfin, and a modest Docker stack all run comfortably on 8 GB. The Pi 5 16GB is worth the upgrade if you plan to run the local AI inference project (Project 6), stack 6+ Docker containers simultaneously, or run Kubernetes worker nodes.
Storage: NVMe Over MicroSD for Anything Serious
MicroSD is fine for Pi-hole. For everything else — especially Home Assistant, Jellyfin, NAS, and Docker stacks — boot from NVMe. MicroSD cards degrade under constant small writes, and a corrupted card taking down your home automation system at 2 AM is a miserable experience. An NVMe HAT + 256 GB SSD adds about $35–$55 to the build and eliminates that entire failure mode.
Power Supply
Use the official 27W USB-C PSU or the CanaKit 45W USB-C PD supply. Under-voltage with an NVMe HAT attached causes subtle, intermittent corruption that is genuinely difficult to diagnose. Don’t cheap out here.
Active Cooling
The Pi 5 throttles under sustained load without active cooling. For any 24/7 homelab workload, active cooling is not optional. The official Pi 5 Active Cooler (~$10) is the minimum; the ElectroCookie Mini Tower case includes an NVMe HAT, a 256 GB SSD, and a fan in one package, which is excellent value.
Recommended Starter Kit — Hardware Table
Use this table as a shopping checklist. Mix and match based on your project of choice.
| Item | Recommended Pick | Est. Price | Amazon Link |
|---|---|---|---|
| Pi 5 Board (bare) | Raspberry Pi 5 8GB | ~$80 | View on Amazon |
| Starter Kit (8GB, recommended) | CanaKit Pi 5 Starter Kit PRO 8GB | ~$120 | View on Amazon 🎷 Big Spring Sale |
| Starter Kit (16GB, upsell) | CanaKit Pi 5 Starter Kit PRO 16GB | ~$150 | View on Amazon |
| Starter Kit MAX (16GB + 256GB) | CanaKit Pi 5 MAX 16GB 256GB | ~$185 | View on Amazon |
| Plug-and-play desktop option | CanaKit Pi 5 Desktop PC with SSD | ~$175 | View on Amazon |
| NVMe HAT (budget, 2280-compatible) | Geekworm X1001 PCIe M.2 HAT | ~$20 | View on Amazon |
| NVMe HAT (official, 2230/2242 only) | Official Raspberry Pi M.2 HAT+ | ~$12 | View on Amazon |
| NVMe HAT (all form factors) | iUniker PCIe M.2 HAT+ | ~$18 | View on Amazon |
| HAT + 256GB SSD bundle | Yahboom M.2 HAT+ + 256GB SSD | ~$55 | View on Amazon |
| Tower case + HAT + 256GB SSD bundle | ElectroCookie Mini Tower + NVMe + 256GB SSD | ~$80 | View on Amazon 🎷 Big Spring Sale |
Sale prices through March 31. Verify pricing at checkout.
Best value path for most beginners: CanaKit Pi 5 Starter Kit PRO 8GB (~$120) + Geekworm X1001 HAT (~$20) + Kingston NV3 500GB SSD (~$45) = approximately $185 all-in. That setup will run every Tier 1 and Tier 2 project in this guide without breaking a sweat.
Best plug-and-play path: The ElectroCookie Mini Tower bundle or the CanaKit Pi 5 Desktop PC with SSD come essentially ready to boot. Minimal assembly, fan included, SSD included.
Tier 1 — Beginner Projects (Weekend Builds, Minimal CLI)
These two projects require only basic terminal comfort — mostly copy-paste commands from official documentation. If you’ve never touched a Linux terminal before, these are the right starting points. Both are genuinely useful in daily life, not just toys.
Project 1: Pi-hole — Network-Wide Ad Blocker
What It Does
Pi-hole acts as a DNS sinkhole on your local network. Every device that uses your router’s DNS — smart TVs, phones, tablets, game consoles, laptops — will have ads blocked at the network level before they ever load. It is one of the most impactful quality-of-life improvements you can make to a home network, and it takes about an hour to set up start to finish.
The critical thing Pi-hole does that browser ad blockers cannot: it blocks ads on devices where you can’t install extensions. YouTube ads on your smart TV. Banner ads in mobile apps. Tracking scripts on your smart thermostat. Once it’s running, the whole house benefits silently in the background.
Why Pi 5 for This
Honestly, Pi-hole runs fine on a Pi 3B. The Pi 5 is enormous overkill — Pi-hole uses under 100 MB of RAM and barely registers on the CPU. The reason to run it on a Pi 5 anyway is that you’ll want to run other things alongside it. Pi-hole + Home Assistant + Vaultwarden on a single Pi 5 is a common and very practical stack.
Hardware Needed
- Raspberry Pi 5 8GB (or the CanaKit PRO 8GB kit if you want the PSU and case included)
- MicroSD card (16 GB minimum; 32 GB recommended) — Pi-hole alone doesn’t need NVMe, though it’s nice for longevity
- Ethernet connection strongly preferred (more reliable DNS than Wi-Fi)
Setup Overview
- Flash Raspberry Pi OS Lite (64-bit) to your microSD or NVMe using Raspberry Pi Imager
- Enable SSH during the flash process (Imager handles this in the advanced options)
- Boot the Pi, find its IP on your router’s device list, SSH in
- Run the Pi-hole one-line installer:
curl -sSL https://install.pi-hole.net | bash - Set your router’s DNS server to the Pi’s static IP
- Access the Pi-hole dashboard at
http://pi.hole/admin
Total time: 45–90 minutes. The official Pi-hole documentation is excellent and handles edge cases for all major router brands.
What to Expect
Typical home networks see 15–30% of all DNS queries blocked. Within a day of running Pi-hole, the query logs become genuinely eye-opening — the number of tracking domains your devices ping constantly is unsettling. Block lists are updated automatically; community-maintained lists like Steven Black’s unified hosts file add tens of thousands of additional domains beyond the Pi-hole defaults.
Project 2: Home Assistant — Self-Hosted Smart Home Hub
What It Does
Home Assistant is the gold standard for self-hosted smart home automation. It integrates with over 3,000 devices and services — Philips Hue, Google Nest, Ecobee, Ring, IKEA Tradfri, Zigbee dongles, MQTT, Z-Wave, and dozens more. You control everything from a single dashboard, create automations that span multiple ecosystems, and do all of it without a monthly subscription and without your data leaving your house.
The “no cloud” aspect is increasingly compelling. Smart home vendors have a history of shutting down services or sunsetting products — Google has killed three smart home platforms already. Home Assistant runs locally. Your automations work even when the internet is down. Your thermostat schedule doesn’t depend on a server in Oregon staying online.
Why Pi 5 Over Pi 4
The Pi 4 can run Home Assistant, but it starts to strain with 30+ integrations, aggressive automation scripts, and a SQLite recorder database writing every few seconds. The Pi 5 handles all of that with headroom to spare. More practically: the Pi 5’s NVMe support means you can run Home Assistant OS from an NVMe drive, which dramatically improves database write performance and reliability compared to microSD. SD card failures are the most common reason Home Assistant setups die unexpectedly.
Hardware Needed
- CanaKit Pi 5 Starter Kit PRO 8GB (kit is ideal — includes PSU and case)
- Geekworm X1001 NVMe HAT + a 256–512 GB NVMe SSD — strongly recommended over microSD
- Alternatively, the Yahboom M.2 HAT+ + 256GB SSD bundle is a convenient one-purchase option
- Ethernet cable (Home Assistant works on Wi-Fi, but wired is more stable for an always-on hub)
Setup Overview
- Flash Home Assistant OS (HAOS) image directly to your NVMe SSD using Raspberry Pi Imager — select “Home Assistant” from the “Other specific purpose OS” category
- Boot the Pi with the NVMe as the primary boot device (may require a brief config step to set boot order)
- Navigate to
http://homeassistant.local:8123from any browser on your network — HAOS handles the rest - The onboarding wizard walks you through adding your first integrations
Home Assistant OS is genuinely the smoothest initial setup of any project in this guide. The hard part is not the installation — it’s learning the automation editor and YAML syntax, which has a real learning curve. Budget a weekend for setup plus exploration.
Honest Limitations
Home Assistant’s power comes at the cost of complexity. Debugging a broken automation at midnight is not fun. The community forum is huge and helpful, but the platform moves fast — integrations occasionally break between updates. Running HAOS on NVMe with automatic backups to a network share mitigates most of the frustration.
Tier 2 — Intermediate Projects (CLI and Docker Required)
These three projects require comfort with the Linux command line, basic Docker concepts (containers, volumes, Compose files), and some patience with configuration files. If you’re new to Docker, spin up a quick tutorial first — understanding what a Docker Compose file is doing will make these setups far less mysterious.
Project 3: Jellyfin — Personal Netflix
What It Does
Jellyfin is a free, open-source media server. Point it at a folder of movies and TV shows, and it creates a Netflix-style interface accessible from any browser, smart TV app, phone, or Roku. It handles metadata scraping (posters, plot summaries, cast info), user accounts, parental controls, and subtitle management automatically.
The experience is genuinely excellent. Jellyfin on a Pi 5 serving a 1080p stream to a laptop on the same network is indistinguishable from a streaming service. On the local network, it’s essentially flawless. Remote access over the internet adds more variables, but works well with a reverse proxy and a domain name.
Pi 5 Transcoding Reality Check
This is where honesty matters. The Pi 5 has hardware H.265 (HEVC) and H.264 decode, which means it can transcode 1080p streams in real-time without a CPU bottleneck. That’s a genuine improvement over the Pi 4.
However, 4K transcoding will stutter or fail. The Pi 5’s hardware video engine is not powerful enough to transcode 4K HEVC in real time. If your client can direct-play 4K (most modern smart TVs and streaming sticks can), 4K works fine — the Pi 5 just passes the bitstream through without touching it. But if you’re hitting a client that needs transcoding on a 4K file, expect problems. Design your setup around direct play for 4K content.
For a primarily 1080p library served to direct-play clients: Jellyfin on Pi 5 is excellent.
Hardware Needed
- CanaKit Pi 5 Starter Kit PRO 16GB — 16GB recommended if you plan to run Jellyfin alongside other containers
- Geekworm X1001 NVMe HAT + 1TB NVMe SSD for media storage (Samsung 990 Pro 1TB is the enthusiast pick for fast transfer speeds when loading large video files)
- Gigabit Ethernet — 1080p streams are 15–40 Mbps; Wi-Fi usually handles it, but wired eliminates buffering entirely
Setup Overview (Docker Compose method)
Install Docker on Pi OS: curl -fsSL https://get.docker.com | sh
Create a docker-compose.yml with the official Jellyfin image, map your media folder as a volume, expose port 8096, and bring it up with docker compose up -d. The Jellyfin web UI walks you through pointing it at your media libraries. First-time metadata scraping for a large library takes an hour or two — let it run overnight.
Project 4: Portainer + Docker Home Server Stack
What It Does
Portainer is a web-based Docker management dashboard. Once it’s running, you can deploy, manage, and monitor every container on your Pi 5 through a browser interface instead of the command line. It’s the difference between remembering docker ps -a and reading a table in a web UI.
The real value of this project is what it unlocks: a single Pi 5 16GB running a full self-hosted stack. A popular combination:
- Pi-hole — network ad blocking
- Home Assistant — smart home (via Docker, or HAOS on a separate Pi)
- Vaultwarden — self-hosted Bitwarden-compatible password manager
- Uptime Kuma — service monitoring dashboard (get alerts if any container goes down)
- Nextcloud — self-hosted Google Drive / Photos replacement
- Portainer itself — managing all of the above
The Pi 5 8GB handles 5–6 containers comfortably if they’re not all CPU-intensive simultaneously. The Pi 5 16GB can run all of the above plus a few more without memory pressure.
Hardware Needed
- CanaKit Pi 5 Starter Kit PRO 16GB for a full stack, or 8GB kit for a lighter setup
- Yahboom M.2 HAT+ + 256GB SSD bundle — 256 GB is enough for OS + containers + moderate data; bump to 512 GB if you plan to add Nextcloud with photo storage
- Alternatively, the ElectroCookie Mini Tower bundle gives you a proper tower case, fan, HAT, and 256 GB SSD in one purchase — very clean desk setup
Setup Overview
- Install Docker on Raspberry Pi OS
- Deploy Portainer with a one-liner:
docker run -d -p 9443:9443 --name portainer --restart=always -v /var/run/docker.sock:/var/run/docker.sock -v portainer_data:/data portainer/portainer-ce:latest - Access Portainer at
https://[pi-ip]:9443, create your admin account - Add your remaining services via Portainer’s Stacks feature — paste in a Docker Compose file for each service, hit Deploy
Project 5: Pi 5 NAS — Network Attached Storage
What It Does
A NAS turns your Pi 5 into a shared network drive. Every computer, phone, and tablet on your network can read and write to it. Use it as a central backup target for all household machines (Time Machine for Macs, Windows Backup, rsync for Linux), a photo archive, a document store, or a Jellyfin media library that multiple services can access simultaneously.
The PCIe Single-Drive Limitation — Know This Before You Buy
This is the most important caveat for this project: the Pi 5 has one PCIe lane, which supports one M.2 NVMe drive natively. You cannot build a true multi-drive redundant RAID NAS using only NVMe on the Pi 5. This is a hardware-level constraint, not something software can fix.
Your options for multi-drive NAS builds on the Pi 5:
- Primary NVMe (OS + OS drive) + USB 3.0 external drives for bulk storage. This works well. USB 3.0 on the Pi 5 delivers 300–400 MB/s, which is more than sufficient for NAS throughput on a home network. Use USB 3.0 hard drives or SSDs for your data volumes and let the NVMe handle the OS.
- Accept single-drive NVMe for personal storage with offsite/cloud backups instead of on-device redundancy. Practical for solo users who maintain backups elsewhere.
- Upgrade to a proper NAS device if you need multi-drive RAID. The Pi 5 NAS is a learning project and a budget solution — it’s not a Synology replacement for data you absolutely cannot afford to lose.
Software Options
OpenMediaVault (OMV) is the most popular Pi NAS software. It installs on top of Raspberry Pi OS Lite and provides a full web UI for managing shares, users, RAID (for USB drive arrays), and plugins including Docker support. The community OMV plugin for Pi makes installation straightforward.
TrueNAS Scale does not have an official ARM build, so for Pi 5 NAS the Docker-based approach — Samba share in a container — is also a valid lightweight alternative.
Hardware Needed
- Raspberry Pi 5 8GB (bare board is fine here)
- Official Raspberry Pi M.2 HAT+ for the OS NVMe drive
- 1–2 TB NVMe for the OS/boot drive
- USB 3.0 external drives (2 TB–8 TB) for bulk data storage — get two of the same model if you want software RAID-1 over USB
- Ethernet (Gigabit) — Wi-Fi NAS is painful; wire this one
Tier 3 — Advanced Projects (Multi-Day Builds)
These two projects assume fluency with the Linux command line, comfort reading documentation, and patience for multi-step configuration. They’re deeply rewarding builds, but don’t start them on a Sunday evening expecting to be done by Monday morning.
Project 6: Local AI Inference Server (Ollama + Open WebUI)
What It Does
This project turns your Pi 5 into a private AI chat server. Using Ollama as the model runner and Open WebUI as the browser interface, you can run real large language models — Llama 3.2 3B, Phi-3 Mini, Gemma 3 2B, Mistral 7B (on 16GB only) — entirely on the Pi 5, with no internet connection required and no API costs. Every prompt stays on your hardware.
In 2026 this is genuinely compelling. Cloud AI services charge per token and log your conversations. A locally-hosted LLM on a Pi 5 costs nothing to query, works offline, and handles personal or sensitive queries without sending data anywhere. The user interface through Open WebUI is nearly identical to ChatGPT in look and feel.
Realistic Performance Expectations
The Pi 5 is not fast at inference. A 3B parameter quantized model (GGUF Q4_K_M) runs at approximately 2–5 tokens per second on the Pi 5 16GB. That’s readable in real time — a full paragraph response takes 20–40 seconds — but it’s noticeably slower than cloud AI. For quick factual queries, code snippets, or writing assistance where you’re not in a hurry, it’s absolutely usable. For back-and-forth rapid conversation, the latency will occasionally frustrate you.
Models larger than 4B parameters will be very slow or won’t fit in RAM on the 8GB board. The Pi 5 16GB is essentially required for this project to be enjoyable.
Hardware Needed
- CanaKit Pi 5 MAX 16GB 256GB — 16GB is the minimum for a good experience; the MAX kit includes a 256GB NVMe and a Turbine White case
- Fast NVMe storage is important here: LLM model files are 2–4 GB each, and loading speed affects how quickly the model starts responding. A quality drive like the Kingston NV3 or Samsung 990 Pro makes a noticeable difference over bargain NVMe
- Ethernet for best performance when serving inference requests to other devices on the network
Setup Overview
- Install Ollama on Pi OS:
curl -fsSL https://ollama.com/install.sh | sh - Pull your first model:
ollama pull llama3.2:3b(about 2 GB download) - Test in the terminal:
ollama run llama3.2:3b - Deploy Open WebUI via Docker:
docker run -d -p 3000:8080 --add-host=host.docker.internal:host-gateway -v open-webui:/app/backend/data --name open-webui --restart always ghcr.io/open-webui/open-webui:main - Access the ChatGPT-like interface at
http://[pi-ip]:3000
Recommended Models for Pi 5
- Llama 3.2 3B — Best general-purpose 3B model, good at following instructions, fast on Pi 5
- Phi-3 Mini (3.8B) — Microsoft’s small model, surprisingly capable for code and reasoning
- Gemma 3 2B — Google’s small model, very fast on limited hardware
- Mistral 7B Q4 — Only on 16GB; slow but noticeably smarter responses
Project 7: Kubernetes Cluster (k3s)
What It Does
k3s is a lightweight, production-grade Kubernetes distribution from Rancher, built specifically for resource-constrained hardware. Running a multi-node k3s cluster on Raspberry Pi 5 boards gives you hands-on experience with the same orchestration platform used by the majority of enterprise cloud deployments — without paying for cloud compute or relying on simulators.
If you work in or are moving toward a DevOps, platform engineering, or SRE career, a physical k8s cluster on your desk is genuinely valuable for learning. Deploying pods, debugging crashloopbackoff errors, configuring ingress controllers, setting up persistent volumes, and working with Helm charts — all of it is more instructive on real hardware with real constraints than in a sandbox environment.
Why Multiple Pi 5 Boards?
Kubernetes is a distributed system. Running it on a single node defeats a significant portion of the educational purpose. The canonical homelab setup is:
- 1x Pi 5 8GB — control plane (API server, etcd, scheduler)
- 2x Pi 5 8GB — worker nodes (where your pods actually run)
This gives you a real three-node cluster where you can practice node draining, rolling updates, pod scheduling, and failure simulation. It’s also where the Pi 5’s power efficiency shines: three Pi 5 boards running 24/7 consume roughly 15–25W total, versus a comparable 3-node mini PC cluster at 45–75W.
Hardware Needed (per node)
- 3x Raspberry Pi 5 8GB boards
- 3x Geekworm X1001 NVMe HAT + 128–256 GB NVMe per node (OS + container images)
- 3x Official Pi 5 Active Coolers — sustained container workloads will thermal-throttle an uncooled Pi 5
- A Gigabit switch with enough ports for all three nodes (PoE switch + PoE HATs is the clean cable-management solution)
- Ethernet cables for each node — never run a k8s cluster on Wi-Fi
Setup Overview
- Flash Raspberry Pi OS Lite 64-bit to each board; assign static IPs via your router or
/etc/dhcpcd.conf - Enable cgroups on each node by editing
/boot/firmware/cmdline.txtto addcgroup_memory=1 cgroup_enable=memory - On the control plane node:
curl -sfL https://get.k3s.io | sh -— this installs and starts k3s server - Retrieve the join token:
cat /var/lib/rancher/k3s/server/node-token - On each worker node:
curl -sfL https://get.k3s.io | K3S_URL=https://[control-plane-ip]:6443 K3S_TOKEN=[token] sh - - Verify all nodes on the control plane:
kubectl get nodes
From there: install Helm, deploy your first workload (Nginx ingress controller is traditional), configure Longhorn for distributed storage, and start working through the Kubernetes documentation with real hardware to test against. This setup is a legitimate homelab that will still be relevant and educational years from now.
Peripheral Upsell: Complete Your Pi 5 Desk Setup
If you’re using the Pi 5 as a desktop or spending significant time at the terminal for these projects, the peripherals matter. A few recommendations:
Keyboard
For serious terminal work on a Pi 5 homelab, a quality mechanical keyboard dramatically improves the experience of typing long commands and config files. A compact tenkeyless mechanical keyboard with hot-swappable switches, USB-C, and a solid typing feel is the practical choice for a small desk setup. Browse tenkeyless mechanical keyboards on Amazon — the Keychron K8 Pro and Keychron Q3 are perennial homelab community favorites and ship with excellent stock switches.
Monitor
The Pi 5 has two micro-HDMI ports supporting dual 4K@60Hz output — considerably more capable than older Pi boards. A 1080p or 1440p IPS monitor in the 24–27″ range is the practical pairing for a Pi 5 desktop. Browse 1440p IPS monitors on Amazon — the LG 27GP850-B and ASUS ProArt PA278QV are strong value picks at this size.
USB Hub
The Pi 5 has two USB 3.0 and two USB 2.0 ports. For NAS builds with external drives, you’ll exhaust the native ports quickly. A powered USB 3.0 hub is essential — unpowered hubs can cause the drives to brown out under load and corrupt data. Look for hubs with an independent power adapter rated at 2A or more per port.
Pi 5 vs Budget Mini PC: Full Comparison
This question deserves a direct answer. Both the Beelink EQ14 and GMKtec N150 are genuine competitors for the “single-node home server” use case.
| Category | Raspberry Pi 5 16GB | Beelink EQ14 / GMKtec N150 |
|---|---|---|
| CPU Architecture | Arm Cortex-A76 (64-bit) | x86 Intel N150 (Alder Lake-N) |
| RAM | 16GB LPDDR4X | 16GB DDR5 (soldered) |
| Storage | 1x M.2 NVMe (via HAT) | 512GB NVMe included |
| Idle Power Draw | 3–5W | 6–10W |
| Full Load Power | ~12W | 15–25W |
| Docker Compatibility | ARM64 images (most major projects supported) | x86_64 (universal compatibility) |
| GPIO / Hardware Hacking | 40-pin GPIO header | None |
| Multi-Node Cluster | Purpose-built for this | Not practical (too expensive to replicate) |
| Ollama AI Inference Speed | ~2–5 tok/s (3B model) | ~8–15 tok/s (7B model possible) |
| Community & Documentation | Massive, project-specific | General Linux/Docker community |
| Entry Price | ~$80 (bare board) / ~$150 (kit) | ~$160–$180 (complete with SSD) |
| Arm Software Compatibility | Occasional ARM64-only issues with niche apps | No compatibility gaps |
The Bottom Line
Choose Pi 5 if: You want to build a k8s cluster, work with GPIO hardware, prioritize power efficiency, value the community ecosystem, or want to start with a lower price floor.
Choose a mini PC if: You need maximum single-node performance, want to run x86-only software without worrying about architecture, or are primarily focused on Jellyfin with heavy transcoding loads (the N150 iGPU handles more video decode tasks than the Pi 5).
Many serious homelab builders own both: a mini PC as the primary always-on server running Jellyfin, Nextcloud, and the main Docker stack, with Pi 5 boards as dedicated appliances running Pi-hole, Home Assistant, and k3s cluster nodes. That’s genuinely a fantastic setup, and the total cost is still well under a NAS appliance from Synology or QNAP.
Final Hardware Recommendations by Project
| Project | Minimum Hardware | Recommended Upgrade |
|---|---|---|
| Pi-hole | Pi 5 8GB + microSD | CanaKit PRO 8GB Kit |
| Home Assistant | Pi 5 8GB + NVMe HAT + SSD | Yahboom HAT + 256GB SSD bundle |
| Jellyfin | Pi 5 8GB + NVMe + 1TB SSD | CanaKit PRO 16GB Kit |
| Docker Stack (Portainer) | Pi 5 8GB + NVMe + 256GB SSD | ElectroCookie Tower bundle (case + HAT + SSD) |
| NAS | Pi 5 8GB + M.2 HAT + NVMe + USB drives | Official M.2 HAT+ + external USB 3.0 drives |
| Local AI (Ollama) | Pi 5 16GB + fast NVMe | CanaKit Pi 5 MAX 16GB 256GB |
| k3s Cluster | 3x Pi 5 8GB + NVMe per node | 3x Pi 5 8GB bare board + Geekworm X1001 HAT per node |
Where to Go From Here
The seven Raspberry Pi 5 homelab projects 2026 above represent a spectrum from a one-hour weekend build to a multi-day infrastructure project that will genuinely advance your skills. None of them require any hardware beyond what’s listed. All of them use free, open-source software.
If you’re starting from zero, the CanaKit Pi 5 Starter Kit PRO 8GB plus the Geekworm X1001 NVMe HAT and a Kingston NV3 SSD gets you into every Tier 1 and Tier 2 project for around $185. That’s a homelab. Not a toy, not a demo — a real home server running real services.
The Amazon Big Spring Sale ends March 31. The CanaKit starter kits and ElectroCookie tower bundle are both on sale right now, so this is a good week to pull the trigger if you’ve been on the fence.
If you want to see how the Pi 5 fits into a broader home build, check out our guide to building a budget gaming PC in 2026 — the Pi 5 and a mid-range gaming PC coexist well as dedicated-purpose machines. And for context on the GPUs you’d pair with a full gaming build, our RTX 4060 vs RX 7600 comparison covers the current budget GPU landscape in detail.